Yay! Christmas for me, has come early, thanks to the special holiday 'Gift Wrap' print offer at Spoonflower!
I was sooo excited when my gift wrap order arrived, it was totally ridiculous!!!
.... now all I need to do, is decide if I can actually bring myself to use it!
In the meantime, here is a Tutorial for some 'Easy As' :
Shabby Scrappy Christmas Stars
~ Enjoy :)
 Gift Wrap (From Top: Vintage Christmas Stripes & Vintage Christmas) Tutorial: Shabby Scrappy Stars

 Gift Wrap (From Top: Vintage Christmas Stripes & Vintage Christmas) Tutorial: Shabby Scrappy Stars
You will need: fabric scraps, pen, cardstock, pins, cotton, needle, glass beads, stuffing, cord/ribbon.
SHABBY BEAD STAR:
~ Template : On cardstock draw a freehand star (12cm from point to point)
~ Pin template to a double layer of fabric
~ Cut out fabric stars
~ Pin fabric stars (wrong sides together)
~ Sew/bead together (5mm from edge) leaving a small gap in one side
~ Fill star with stuffing
~ Insert ends of looped cord, and continue sewing to close gap.
SCRAPPY STAR:
~ Using template above as a guide draw an addtional smaller star template (about 10cm across from point to point)
~ Pin 12cm template to a double layer of fabric and cut out fabric stars
~ Pin 10cm template to a double layer of (contrasting coloured) fabric and cut out fabric stars
~ Place 1 small star onto 1 large star (right sides up) and pin together
(creates 1 side of final star)
Sew fabrics together (very ROUGHLY 5mm from edge) and continue, till you have sewn right around the star twice
~ REPEAT the last step with the remaining large and small star!
~ Pin sewn stars (wrong sides) together
~ Sew together (5mm from edge) leaving a small gap in one side
~ Fill star with stuffing
~ Insert ends of looped cord, and continue sewing to close gap.
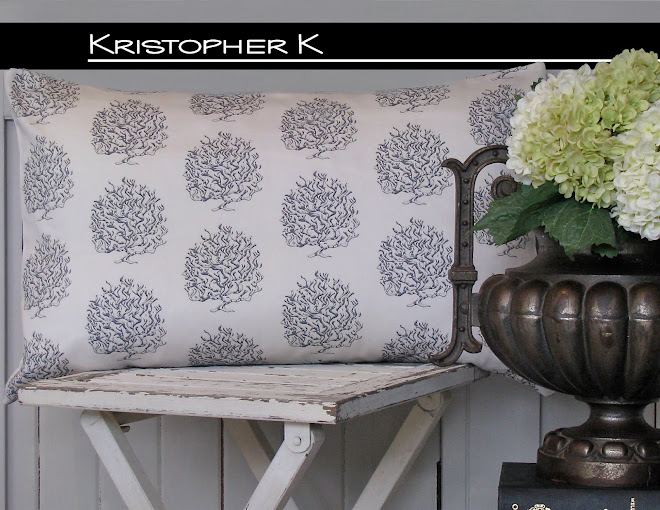
© Kristopher K 2012 - All rights reserved.


No comments:
Post a Comment
Thank-you for taking the time to say hello, I love receiving feedback on the Kristopher K Blog, and reading all your wonderful comments :)