Looking for a fun DIY craft this Christmas?
Mini wooden pegs can be individually stamped with sweet little messages ~ like Joy / Noël / Love / or even a persons name or initials.
When attached to brown paper packages wrapped up in string, mini pegs stamped with love, create an original handcrafted look for holding gift cards onto string.
Also these cute little pegs are a fun retro way to display photos or cards around the home for example: hanging a collection of Christmas Cards onto a long length of ribbon.
Stamped Mini pegs could also make a beautiful 'handmade' gift on their own, simply presented together in sets, on natural card-stock (as shown)

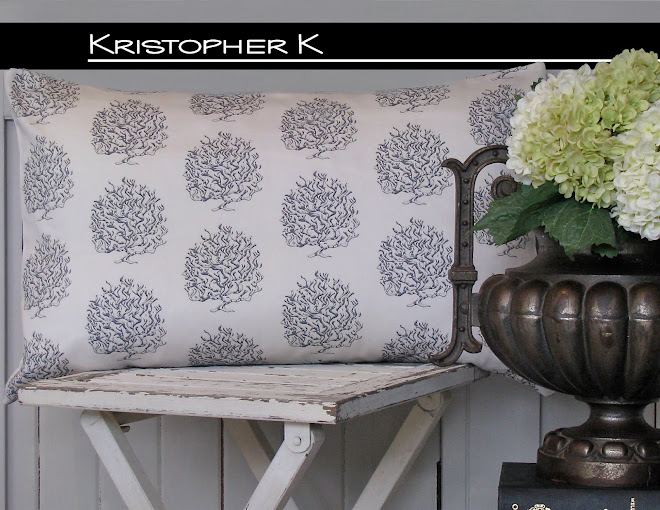
Also released today is a new Kristopher K Design called: "Maze" and a co-ordinating textural linen look design "Maze Linen" ... see the entire collection now available at Spoonflower here :)


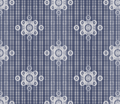

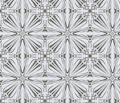


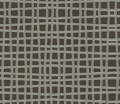


